DOOM Open Beta is here
DOOM – Player Progression and Customization
Are you classy or flashy? Subtle or over-the-top? Whatever your style, DOOM’s in-depth player customization will let you express yourself when you step into the multiplayer arena on May 13. As you level up, you’ll unlock tons of gear, paint colors for your armor and weapons, and much more. You can get a taste for some of the customization options in the video below.
Some of you may have experienced the multiplayer yourself in our recent closed beta, or maybe you caught some video that came out of the event. Many more of you are about to jump into this weekend’s open beta. While this will give you a small taste of the myriad of customization options, here’s the full rundown for those seeking more info on how you’ll progress through DOOM’s multiplayer – from a level-one newbie to an Echelon-ranked badass.
Progression
You don’t have to be the best DOOM player to rise through the ranks. In fact, you might not always be on the winning team, and that’s OK. Half of your experience just comes from showing up and making an effort. The other half comes from kills you rack up, where you place on your team, whether your team wins or loses, any challenges you might complete, and commendations like MVP or Most Demon Kills that you may receive. In short, the more you play, the more armor, weapons, equipment and hack modules you’ll unlock. You’ll also receive epic customization options for all your gear, so you can look cool while you obliterate your opponents.

Once you hit level 50, you’ll receive your first Echelon. Your level then resets to 1 and you become Echelon 1, Level 1. But even though your level resets to 1, you won’t lose all that gear you’ve unlocked. Everything you earn stays with you. (Each time you gain an Echelon rank, you’ll unlock a special insignia denoting your Echelon rank so other players will know what they’re up against.) With 10 Echelon ranks and 50 levels per Echelon… well, that’s a lot of levels and a lot of sweet customization options to unlock as you work your way through them.
Armor and Weapons
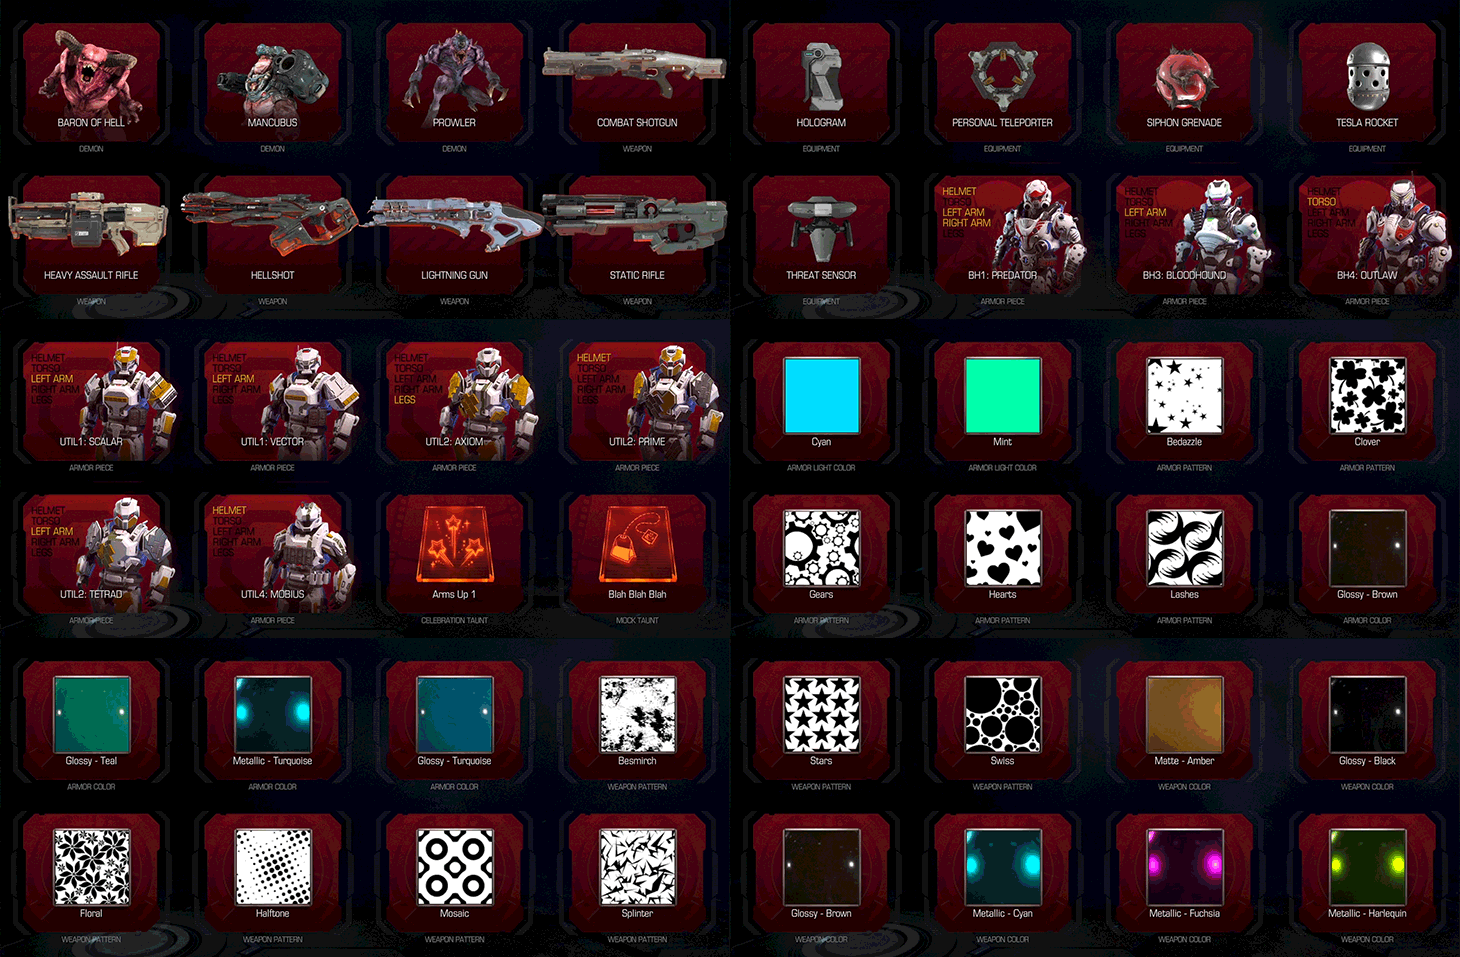
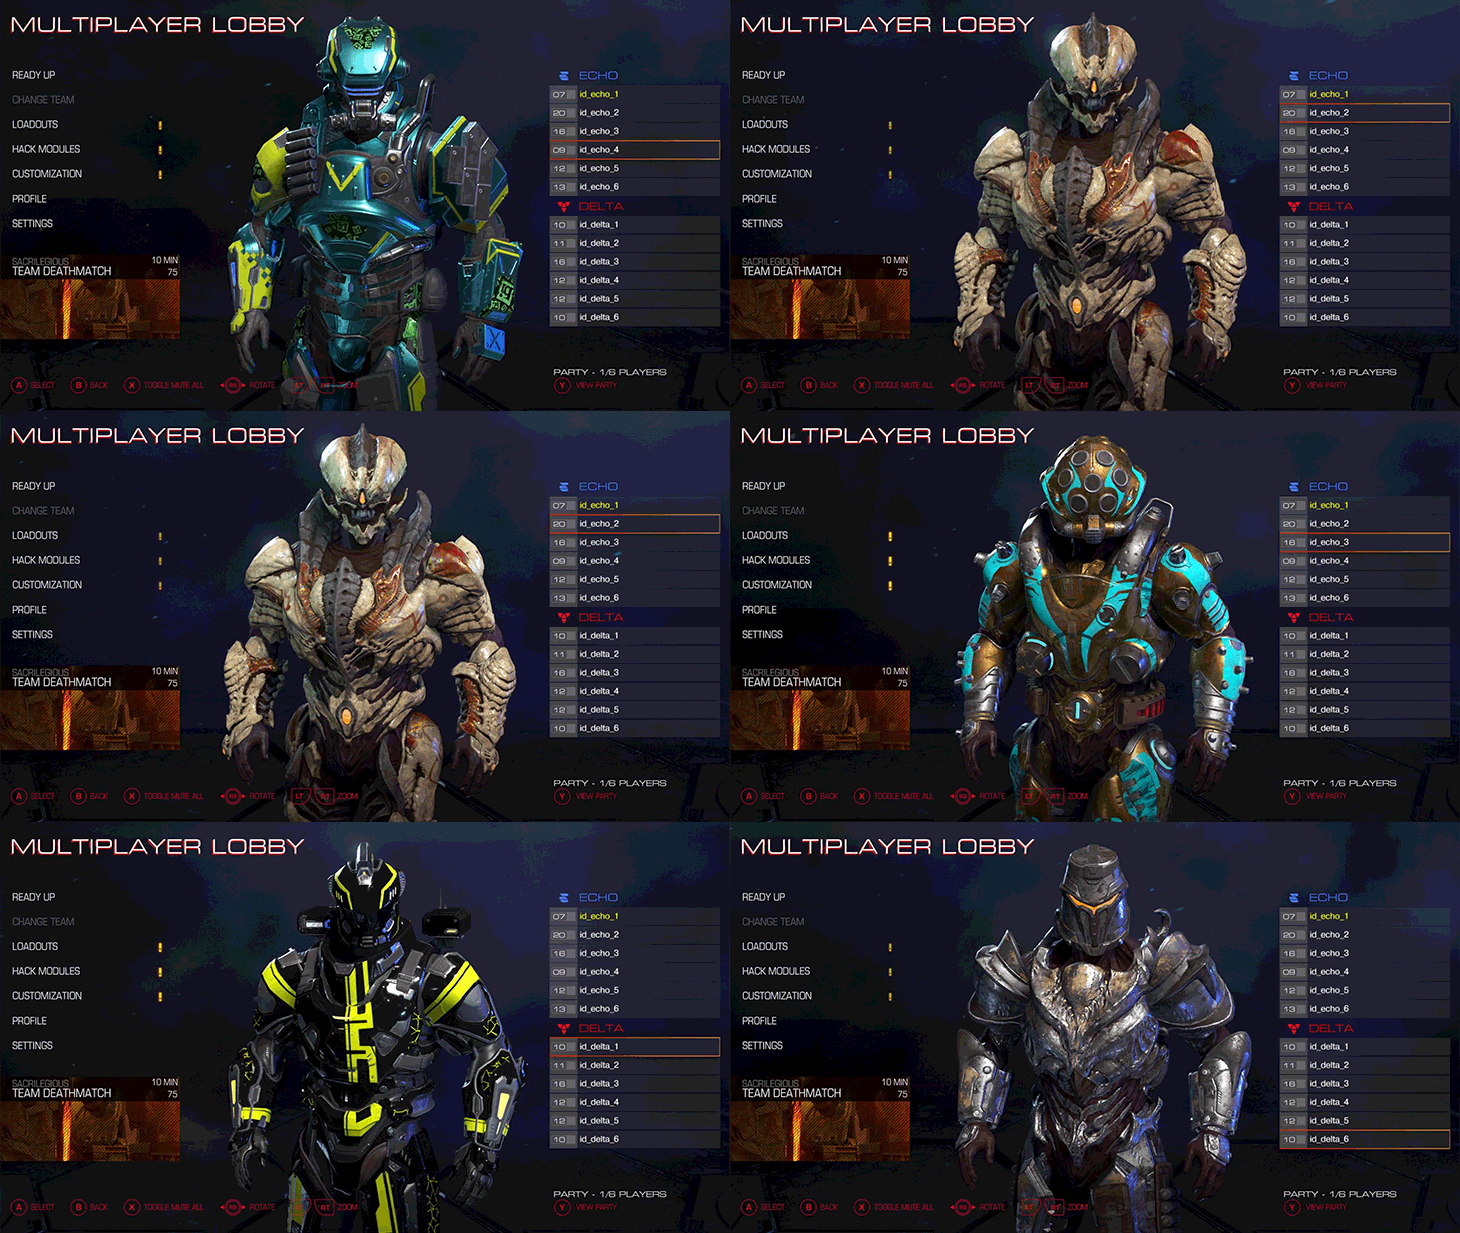
With nearly 300 pieces of armor falling into five distinct themes, over 90 primary and secondary paint colors and over 50 paint patterns to choose from, you can be sure your DOOM marine will be killing in style. Deck him out in one of five base armor suits (UAC, Demonic, Bounty Hunter, Templar and Utilitarian), and pick and choose the pieces you want for his helmet, legs, torso, right arm and left arm. If you want a Jaguar torso piece with Scalar legs, an Ocelot left arm and a Wildcat right arm, you can do that. As long as you’ve unlocked the piece, you can customize your marine however you see fit.
After you’ve picked out your armor, you’ll be able to throw a coat (or two or three) of paint on that bad boy. You can select your primary and secondary colors, the pattern on your armor, and the color of the lights on your suit. You can also choose whether you want matte, glossy or metallic paint, and just how intense you want the colors to be. When you’ve got your colors selected, give your marine a more battle-hardened look by adding dirt and scratches to the armor. Keep it shiny and pristine or make it look like you’ve truly been through Hell. If you really want to see some crazy combinations, you can randomize all aspects of your armor’s customization using all of your unlocked armor pieces and paintjobs for some really crazy designs.

Customizing your weapons works much in the way armor customization does. You’ll have 96 colors to work with, plus 60 patterns, and like with your armor, you can adjust the weathering of your weapon to give it extra character. Each weapon is broken down into two zones and highlight areas, allowing you to get even crazier with your color combos. Both zones can be independently customized with either a solid color or a pattern and two colors. The weapon’s highlights can then be decked out in a different solid color choice.
All this ensures that when your DOOM marine steps onto the battlefield, no one will look quite like you.
Hack Modules
Everyone needs a little boost now and then, and that’s where Hack Modules come in. Hack Modules are consumable power-ups designed to give you a small, but meaningful, edge in multiplayer. Whether that edge is a display of your opponents’ health, or a quick jolt to your speed, Hack Modules are another way for you to customize and augment your experience. You don’t have to pay for these; you’ll get two Hack Modules just for successfully completing a match.
Each Hack Module has three tiers, with rarer higher-tier modules lasting longer or providing greater boosts than more common lower-tier modules. Hack Modules aren’t specific to an individual loadout. You can equip them in the lobby prior to starting a match. Select up to four, and if you find yourself gravitating toward a specific module, you can equip multiple copies of it. Only one Hack Module can be active at any given time, and must be triggered in the death-screen. The Hack Module timer will not begin until you respawn and active modules can be canceled by selecting a different one or the Noneoption in the death-screen.
Some of the Hack Modules you will unlock include:
- Supply Timer – Visually display the remaining time before nearby pickups and power-ups will respawn
- Alarm – An audio cue plays when an enemy is nearby, warning the player
- Blood Trail – Reveals the location of enemies that the player recently wounded
- Infinite Ammo – Temporarily grants infinite ammo for both of your loadout weapons
- Power Seeker – Displays spawned/dropped power-ups and power weapons through walls
That’s just a small handful of the Hack Modules you’ll unlock. There will be plenty more for you to experiment with at launch.
Equipment
In addition to your Hack Modules, you can also equip one of seven different special items per loadout. These range from your standard Frag Grenade to the new Siphon Grenade, which explodes on impact and creates a large sphere that drains enemy health and armor. All drained health and armor is then transferred to the player who deployed the grenade. The Siphon Grenade runs on a timer, and will remain active until its time runs out or it’s destroyed by enemy players.
Not every piece of equipment is designed to kill. You can also equip non-lethal items that provide tactical support. Take the Shield Wall, for example. The Shield Wall creates a large protective barrier that blocks fire coming from both directions, as well as enemy players. The Shield Wall can stop up most doorways, and it’s tall enough that players can’t single-jump over it.
Equipment has a recharge time that starts as soon as an item is thrown or deployed, but dying will automatically reset your item, allowing you to use your item at least once per life.
Taunts
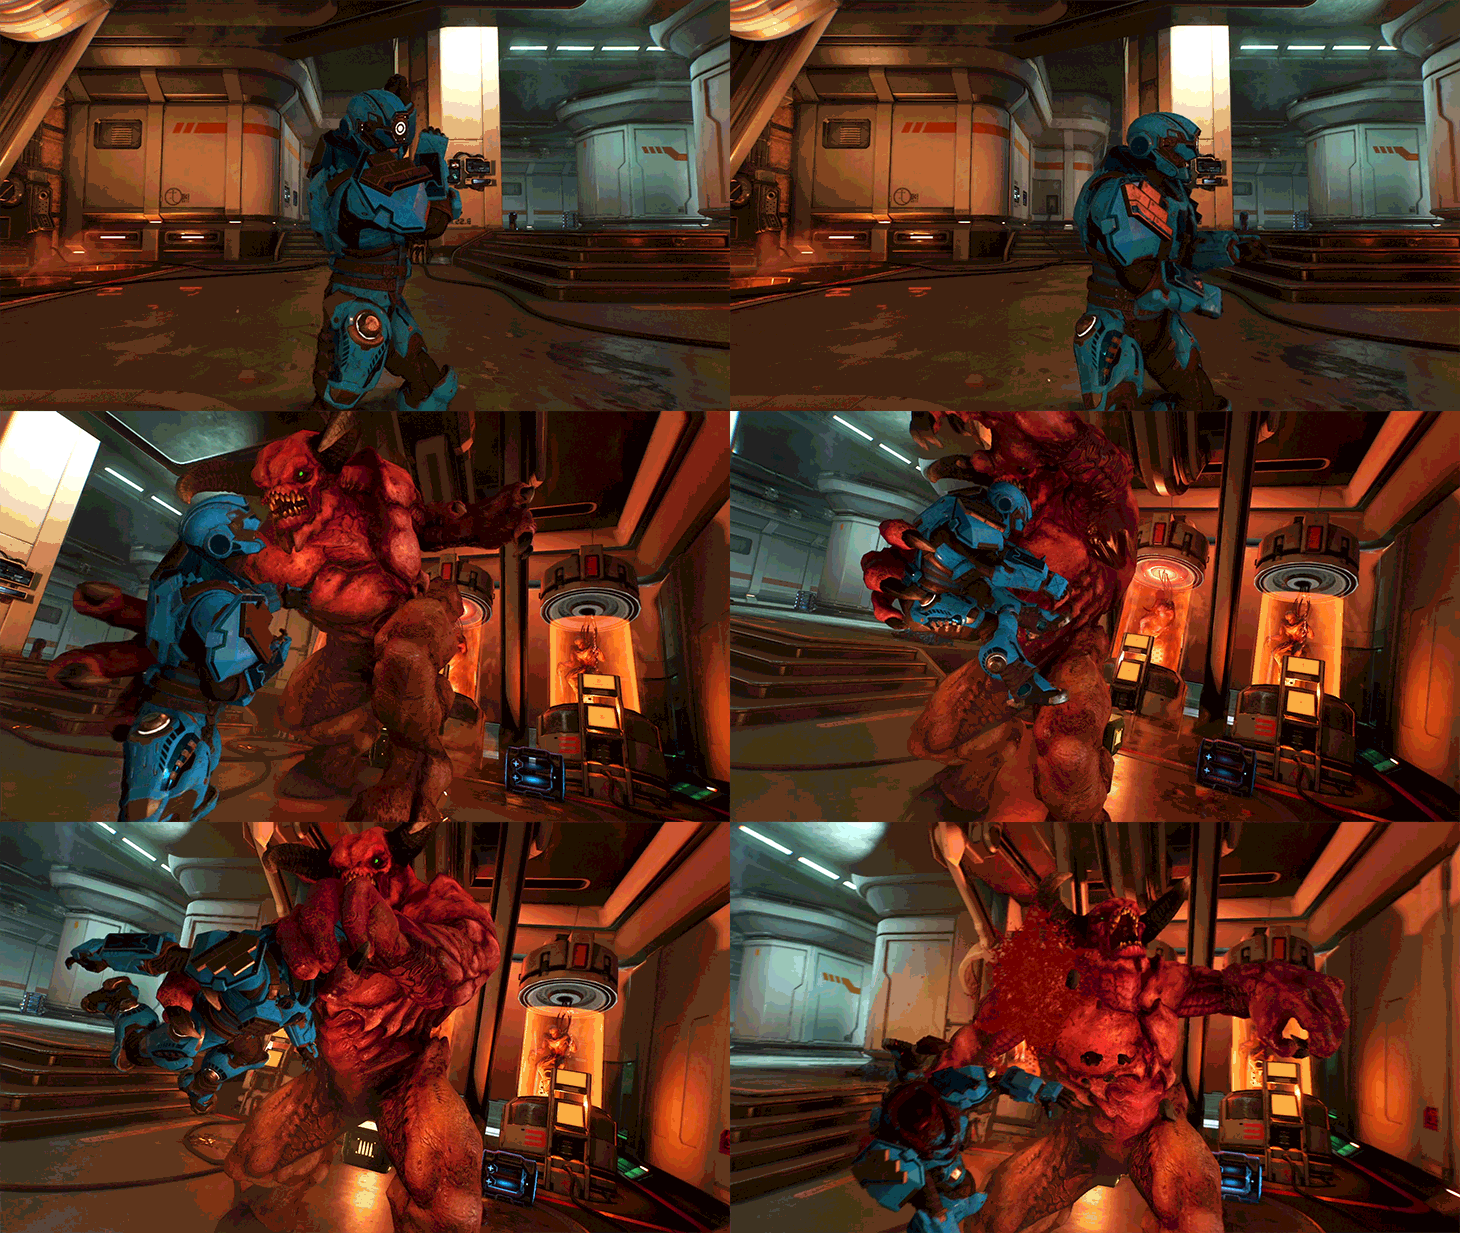
Everyone likes to show off a little. (Or a lot if you’re feeling particularly cocky.) With over 125 unique and showy taunts, you can show off in style. Load up your DOOM Marine with four taunts at a time and use them whenever you want. Whether you’re standing on a pedestal at the end of a match posing like Superman, or dancing on the corpses of your fallen foes, you’ll be able to express yourself while you rub your sweet victory in your opponents’ faces. Of course, you might want to be careful about when and where you choose to “Make it Rain” or dust the “Dirt off Your Shoulder.” You’re completely vulnerable to attacks while you’re taunting, and someone might just take offense to your celebration and take you out. And that would be embarrassing.


%20&%20Edith%20Poor%20(Lizzie%20Moyle)_%C2%A9BBCS%20&%20Bunya%20Entertainment.jpg)
No comments:
Post a Comment